

📸 Tourist photography school: how to photograph fjords and animals without heavy equipment 🏞️
We know how exciting it can be to take pictures of nature and animals in Norway's national parks. And we're here to tell you that it's a piece of cake, as long as you know a few tricks. Hey, don't stress about the weight of your lenses! A lightweight 70–300 mm lens that's less than 800 g is perfect for taking bright, clear shots. Why not have some fun learning how to use simple equipment and natural conditions to take truly beautiful photos?
Which animals can you find most often in Norway's national parks?
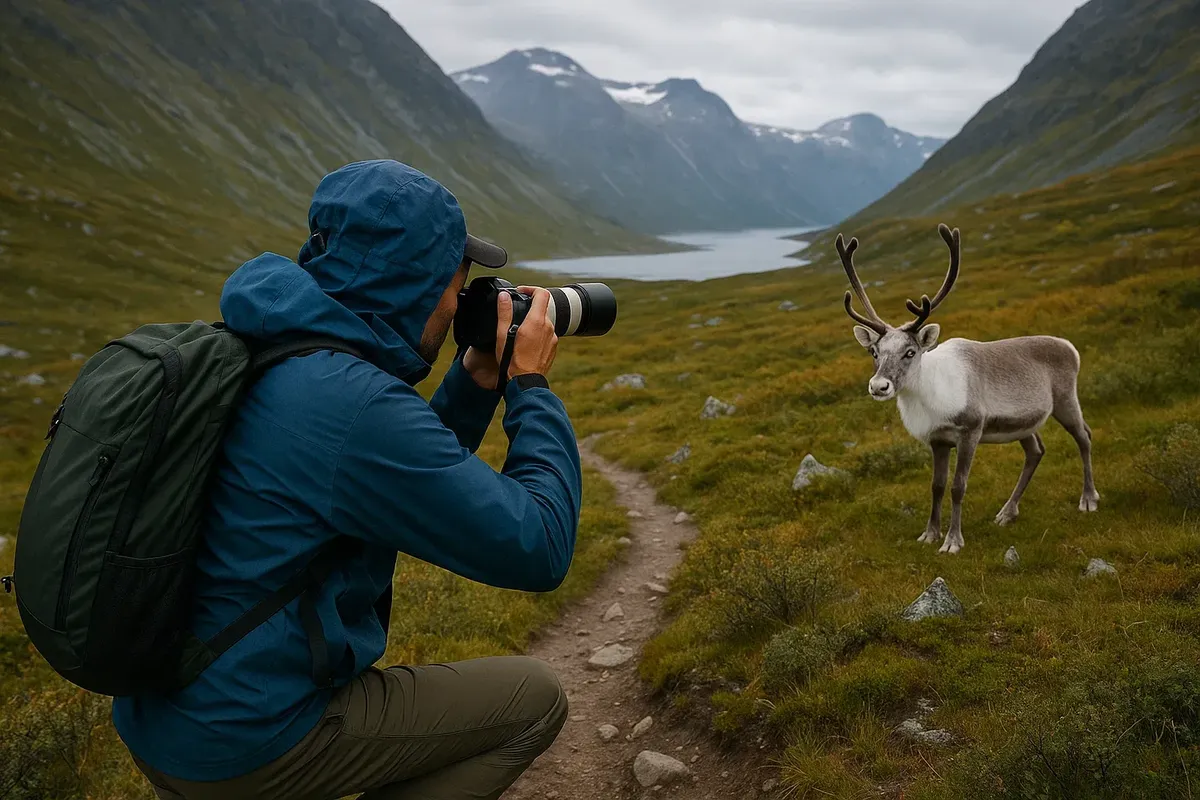
When you're out and about, you're likely to see reindeer, moose, musk oxen (especially in Dovrefjell National Park), foxes and lots of different birds, including golden eagles and white-tailed eagles. With a 70–300 mm lens, you can zoom in on your subjects without disturbing them and keep a safe distance.
What lightweight equipment should you take on a photo trip?
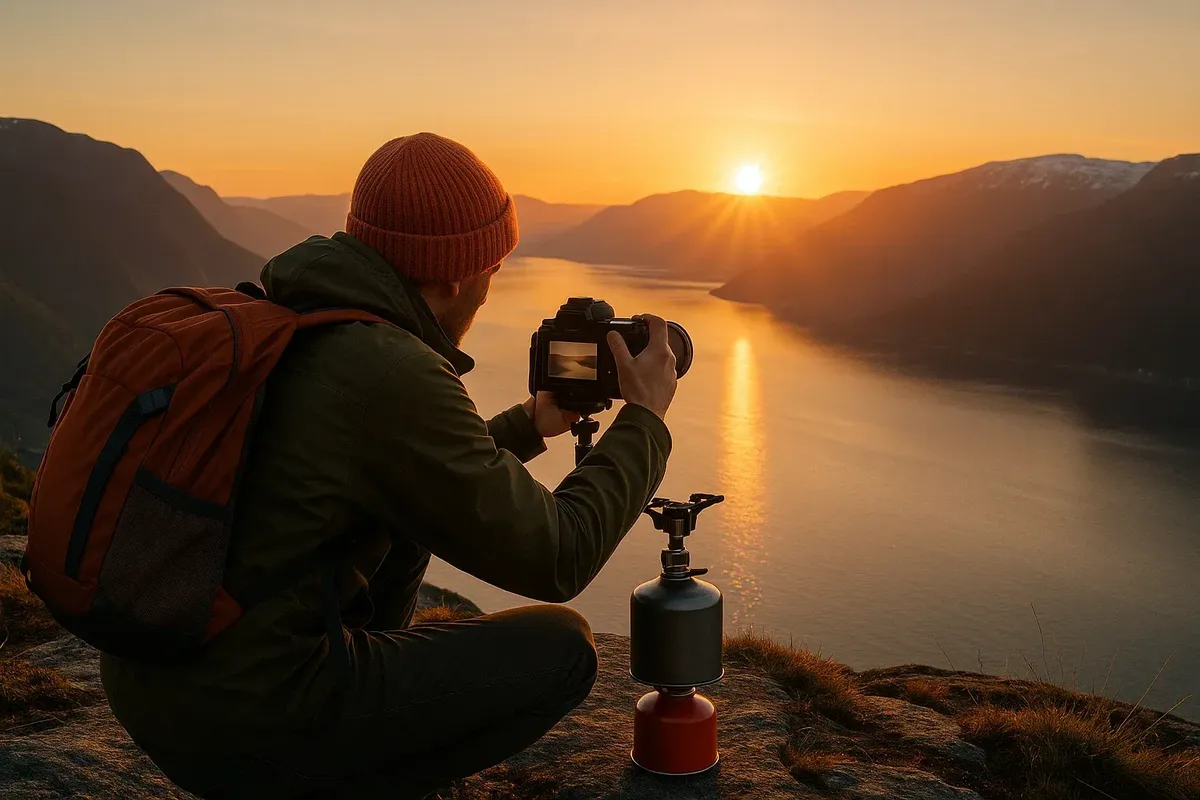
The ideal kit: a lightweight camera with a 70–300 mm zoom lens, a tripod or monopod, and an external battery. To make your camera more stable, you can sometimes use a flat surface like a stove to hold it instead of a tripod. This is a useful and easy way to use your camera when you're out hiking.
Which campsites and huts are ideal for amateur photographers?
Gjendesheim in Jotunheimen and Odda Camping near Hardangerfjord are great places for photographers. These places are in easy reach of pretty places where you can go shooting. You can also safely leave your equipment and rest between photo shoots, especially during the morning and evening 'golden hours'. How can I use a burner to make my stabiliser more stable?
If you don't have a tripod, a small camping gas burner can be a great substitute. Just put your camera on a flat surface on top of the burner, turn it off, and you'll have a stable base for taking long exposure shots. This is especially useful for taking photos of sunrises or sunsets.
What do you need to get ready to take pictures of animals and nature?
A 70–300 mm lens lets you take photos of animals from a distance without bothering them. Make sure you bring spare batteries, memory cards and protective filters for the lens. This will help to keep the lens dust-free and moisture-free. For convenience, use a soft, lightweight case or cover that can be easily attached to your backpack and provides quick access to your equipment.
What is the best way to take photos of wildlife?
When taking photos of animals, it is important to keep your distance (at least 100 metres for large animals), and to avoid noise and sudden movements. Don't feed or scare animals just to get a good photo. These rules will help you take beautiful photos without disturbing the animals or plants in the park.
What's the best time of day to take nature photos?
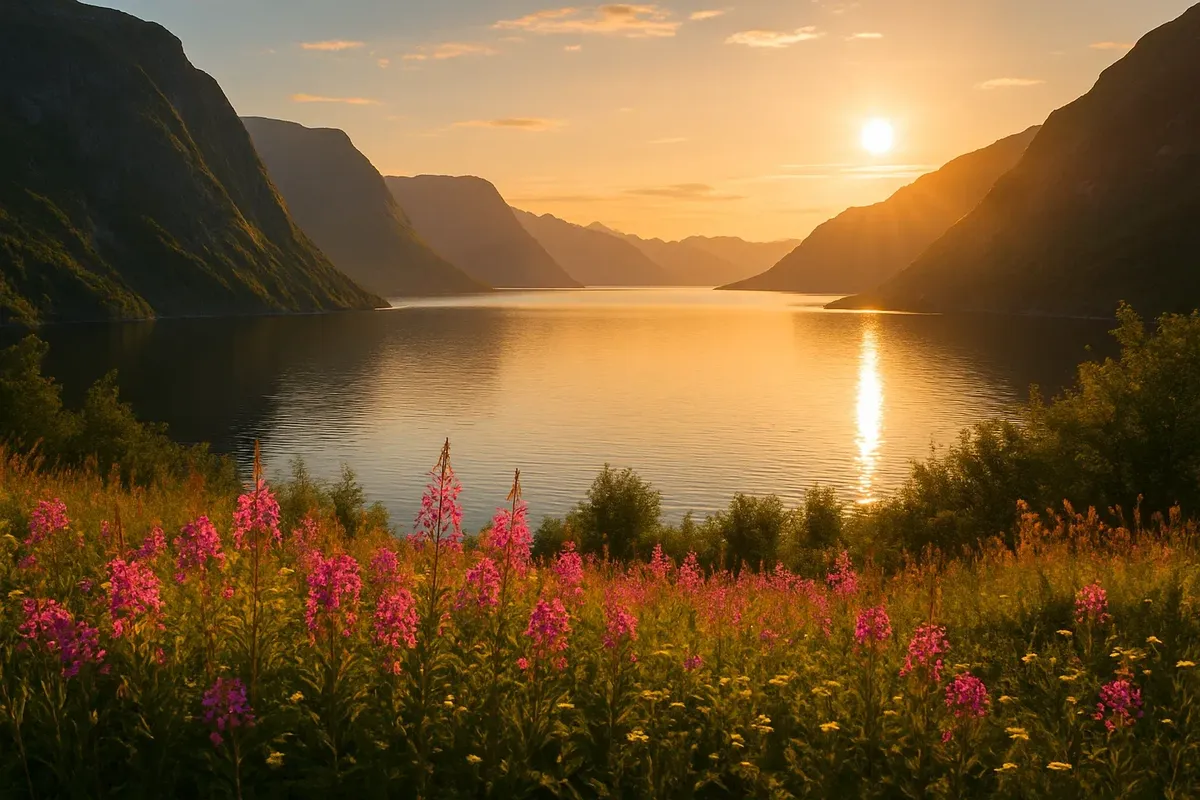
The best times to take photos are at sunrise and sunset, during the 'golden hour'. This is when the sun is low in the sky and it gives the landscape a soft, warm glow. Plan your routes so that you are in the right place at the right time to get the best photos.
Which flowers and natural objects are best for taking photos along the routes?
The national parks have amazing landscapes, with flowering Arctic plants, cloudberries, blueberries and pretty trees. Water surfaces, like lakes and glaciers, look especially beautiful when the light falls on them at a low angle. Try to make interesting pictures using these moments.
Don't worry about spending a lot of money on equipment, you can take great photos in Norway's national parks without it! I know you're going to get some amazing photos on your trip back home! All you need to do is use simple solutions like a lightweight 70–300 mm lens and make the most of the light and conditions you find.
We'd absolutely love to see your favourite shots, stories and tips in the comments, so please do share them with us! We'll be publishing the best photos and stories in our catalogue to inspire other travellers to take creative trips!

2 comments
Log in to leave a comment