


How to photograph the northern lights: camera and phone settings
Share
Save
Checked by the editors in November 2026.
Short answer: Put the camera in manual mode, focus manually on a distant light or a star, and start at f/2.8, ISO 1600 and a 15 second exposure on a tripod. Shorten the exposure if the aurora moves fast. On a phone, use night mode, a solid support and no flash. Keep spare batteries warm, and only stop your car where it is safe and legal.
Which camera settings should you start with?
Treat the values below as starting points, not promises. The right settings change with the time, the place and the camera, so it pays to learn your camera before the trip.
| Setting | Starting value | How to adjust |
|---|---|---|
| Mode | Manual (M) | Auto modes struggle in the dark, and the aurora may not show up in the picture. |
| Focus | Manual, infinity as a first guess | Check sharpness on a star or a distant light and adjust until the star is as small as possible. |
| Aperture | As wide as the lens allows, for example f/1.8, f/2.8 or f/4 | A lower f-number lets in more light. |
| ISO | 1600-3200 | Go higher when it is very dark, lower when the aurora is bright or the moon and snow add light. |
| Shutter speed | 5-15 seconds (15 seconds at f/2.8 and ISO 1600) | Shorter when the aurora moves fast, longer when it is faint and slow. |
| Support | Tripod with a self-timer or remote release | Without a tripod, a rock, a car bonnet or anything else steady will do. |
A wide-angle lens of 10-24 mm with a wide aperture leaves room for both sky and foreground. Apertures of f/1.4 or f/2.8 suit it well, and up to f/4 can also work.
How do you test your settings before the show starts?
Practise at home or in daylight so you are not hunting through menus in the cold. Outside, take a test shot, zoom in on the screen and check that the stars are sharp. Change one thing at a time. A head torch makes it easy to adjust the camera in the dark.
How do you photograph the aurora with a phone?
Modern iPhones and Android phones can take good aurora pictures in night mode or with manual settings. Keep the phone still on a tripod or a solid surface, turn the flash off and avoid digital zoom. If your phone can save RAW files, you get more room when editing. Bring a power bank, and keep the phone in a pocket when you are not using it, so it stays warm.
On iPhone 11 and later, Night mode switches on by itself in low light, and turning on the flash switches it off. You can change the exposure yourself, and a tripod gives sharper results. Take a test shot and check the sky and the foreground before you carry on.
How do you protect your gear from the cold and from condensation?
Cold drains batteries faster than usual, so pack twice as many as you normally use. Keep the spares in an inside pocket where body heat keeps them warm.
Moving from cold to warm can fog up the camera and the lens. Put the camera in a closed bag before you go indoors and let it warm up gradually. If it warms too fast, it fogs. Leaving the bag in a cooler spot, such as a hallway, helps.
What should you think about in the frame?
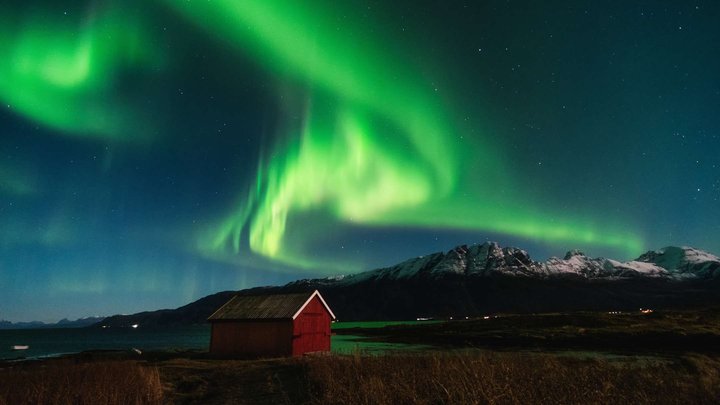
Include something in the foreground: mountains, trees, a house or a road give scale and depth. Find north with a compass app while it is still light, and pick a spot with a clear view to the north, as we explain in Northern lights in Norway. City light can hide the aurora, so move away from street lamps.
Light from lamps, cars and phone screens can light up the foreground and change the picture. Ask others in your group to switch off torches during the exposure. For places to go, see Northern lights in Tromsø and Northern lights in Lofoten.
How do you know when it is worth setting up the camera?
Yr shows an aurora forecast up to three days ahead and a short-term nowcast from 0 to 100 percent for the next 30 to 90 minutes. In the Yr app you can get an alert when the nowcast is above 30 percent. Clouds matter as much as activity, and Northern lights in Norway explains how to read the Kp number and the cloud forecast together.
How do you shoot safely near roads and water?
Do not stop your car in the middle of the road for a picture. Stopping is banned in blind bends, in tunnels, on hill crests and on motorways (Norwegian Public Roads Administration, page in Norwegian). Drive on to a car park or a place with good visibility and shoot from there.
If you walk along a road in the dark, wear a reflector. Without one a driver sees you only at 25-30 metres; with one, at 140 metres when the car uses dipped headlights (Trygg Trafikk, page in Norwegian).
Keep your distance from the water's edge in the dark, and do not walk out on ice for a better angle. At least 10 cm of solid ice is recommended, and in spring even thick ice loses its strength. Avoid inlets, outlets and narrow straits (Varsom, page in Norwegian).
Should you book a guided tour or go on your own?
A guided tour can save you from hunting for clear sky in the dark. Before you book, ask the operator whether the guide helps with camera settings and whether you can borrow a tripod. See tour operators in Tromsø in our catalogue.
Good aurora pictures come mostly from practice before the evening and patience outside. A wide aperture, a steady support and a test run at home give you a solid start, and you adjust the rest by what you see on the screen.
Do you have your own experience with settings or places where you photographed the aurora? Share it in the comments.
Read also
Sources
- Visit Norway: How to photograph the northern lights, checked 17.11.2026
- Visit Norway: Locals' best tips to see the northern lights, checked 17.11.2026
- Visit Tromsø: How to photograph the northern lights, checked 17.11.2026
- Apple Support: Use Night mode on your iPhone, checked 17.11.2026
- Canon Europe: Tips for shooting in extreme weather conditions, checked 17.11.2026
- Nikon: Tips for Shooting in Cold Weather, checked 17.11.2026
- Yr help: Aurora forecast on Yr, checked 17.11.2026
- Statens vegvesen: Forbud mot å stanse, checked 17.11.2026
- Trygg Trafikk: Refleks redder liv, checked 17.11.2026
- Varsom: Isskolen, checked 17.11.2026
Share
Save
Read also
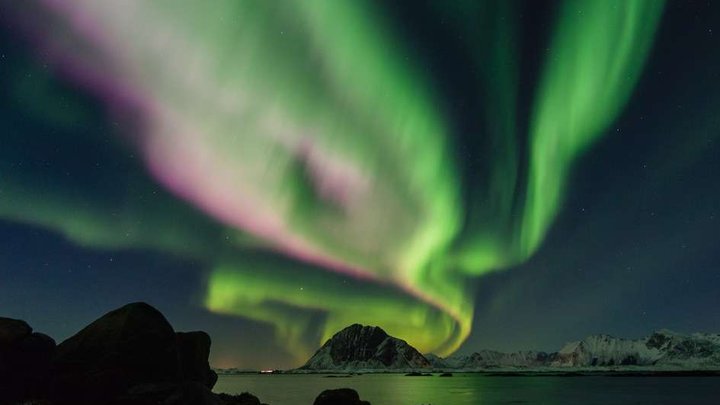
Northern lights in Lofoten: seasons, locations and a practical evening plan
You can look for the northern lights in Lofoten from late summer to early spring, once nights are dark enough.
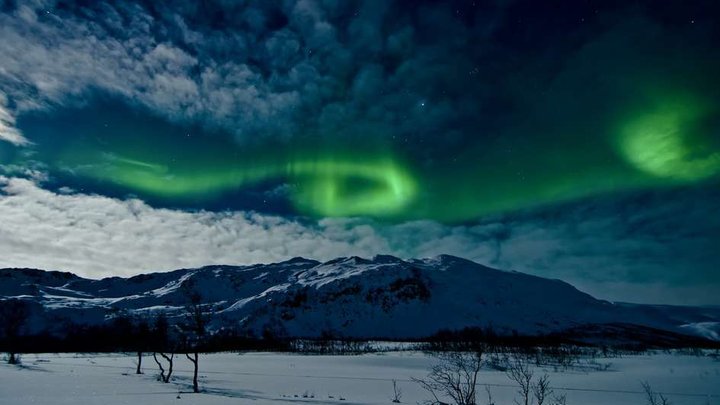
Northern lights in Tromsø: season, forecasts, tours and viewing places
Northern lights may be visible in Tromsø from late August to early April when the sky is dark and sufficiently clear.
Northern lights in Norway: when and where can you see them?
When and where to see the northern lights in Norway: season, best month and time, Kp index, Yr aurora forecast, tour prices and photo tips.
0 comments
Log in to leave a comment